
This is the photo originally before any editing.

First, I cropped the image using the Crop Tool. I got rid of the door on the left of the photo and the wardrobe frame on the right of the photo so that I had nothing in the background of the finished photo.
___________Step 2

Secondly, I dragged the Magnetic Lasso around one of the pieces of paper then held down shift and started to go round the other piece. Once I had them both selected, I used the Fill Tool and took the colour from the background and filled in the paper.
___________Step 3
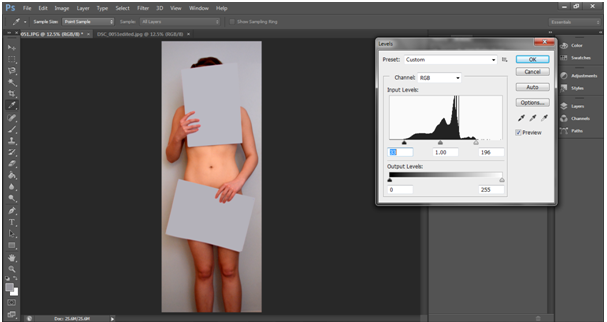
I then changed the levels (Image>Adjustments>Levels) and moved the black and white points to balance the tones in the image.
___________Step 4

After that, I adjusted the curves (Image>Adjustments>Curves) and made the line in to a faint 'S' shape to make the colours richer and stand out more.

I found this image on the internet after searching 'rotting plaster' and thought it would be a good pattern/texture to use to give the effect of old, distressed wallpaper.
____________Step 5

____________Step 6

No comments:
Post a Comment